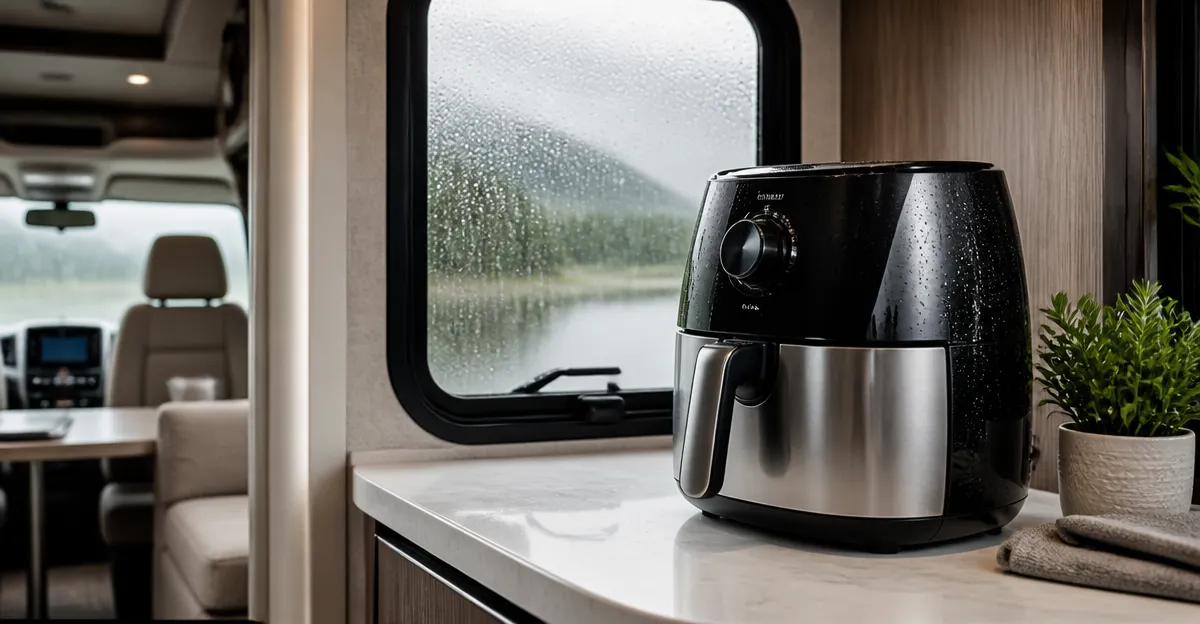
How to Prevent Air Fryer Condensation in Your RV: Practical Venting, Placement & Cooking Tips
Condensation inside an RV kitchen can cause moisture damage, unpleasant odors, and reduced cooking efficiency. This guide will teach the reader how to identify the sources of excess moisture, how to vent the air fryer properly, and how to arrange cooking equipment to minimise condensation. By following the steps, the reader will protect the interior of the RV, extend the lifespan of the appliance, and enjoy consistently crisp results.
What You Will Need
- Compact vent kit or small exhaust fan suitable for RV use
- Heat‑resistant silicone mat
- Adjustable shelving or a sturdy countertop
- Measuring tape
- Cleaning brush and mild detergent
- Ninja Foodi DualZone Air Fryer (optional for larger families)
- Cosori TurboBlaze Air Fryer (optional for compact spaces)
Step 1: Assess the RV Kitchen Layout and Identify Moisture Hotspots
The first action is to examine the kitchen area for areas where steam accumulates. Common hotspots include the area directly above the cooking surface, the window seal, and the vent opening. Use a measuring tape to note the distance between the air fryer and any nearby walls; a clearance of at least six inches reduces heat transfer to cold surfaces. Record observations in a notebook so that later steps can address each hotspot directly.
When the air fryer is placed too close to a sealed window, steam will condense on the glass and drip onto the interior. The reader should also verify that the existing RV ventilation system is functional; a blocked vent will force moisture to settle inside the cabin.
Step 2: Install a Dedicated Exhaust Fan or Venting Kit
A dedicated exhaust fan provides a direct path for humid air to leave the RV, preventing it from condensing on interior surfaces. Choose a fan rated for 12 V DC operation, as this will integrate with the RV’s electrical system without overloading the inverter. Install the fan near the top of the kitchen cabinet, ensuring that the intake faces the air fryer and the exhaust points toward an external vent.
For readers who prefer a pre‑assembled solution, a small vent kit can be mounted on the roof vent or a side window. The kit typically includes a flexible duct, a vent cover, and mounting brackets. Secure the duct to the air fryer’s rear vent using a heat‑resistant silicone seal to create an airtight connection.
Step 3: Position the Air Fryer for Optimal Airflow
Proper placement of the air fryer is critical for reducing condensation. Place the appliance on a heat‑resistant silicone mat to protect the countertop and to provide a non‑slip surface. The mat also absorbs minor drips, keeping the surrounding area dry.
When cooking for a family, the Ninja Foodi DualZone Air Fryer offers two independent 5‑quart baskets, allowing the user to cook a main dish and a side simultaneously. This dual‑zone capability reduces the total cooking time, which in turn limits the amount of steam generated. The appliance is rated at 4.7 out of 5 stars based on 10,216 reviews and is priced at $179.99, making it a reliable choice for larger households.
For smaller RVs where counter space is at a premium, the Cosori TurboBlaze Air Fryer provides a 6‑quart square basket that fits comfortably on narrow countertops. Its 9‑in‑1 functionality and compact footprint reduce the need for additional cooking appliances, thereby decreasing overall moisture production. The Cosori model holds a rating of 4.8 out of 5 stars from 20,778 reviews and costs $89.99.
Step 4: Manage Moisture During the Cooking Process
Even with proper venting, some steam will be released during cooking. The reader should open a nearby window slightly to allow fresh air to circulate, especially when using the “Air Broil” or “Dehydrate” functions, which produce the most vapor. If the RV is parked in a location where opening a window is not feasible, the exhaust fan installed in Step 2 will serve as the primary moisture outlet.
When cooking foods with high water content, such as frozen vegetables or marinated chicken, consider using the “Smart Finish” feature on the Ninja Foodi DualZone Air Fryer. This feature synchronises cooking times for both baskets, ensuring that the appliance shuts off as soon as the final dish is ready, thereby limiting excess steam.
For the Cosori TurboBlaze Air Fryer, the “Preheat” function can be employed to stabilise the cooking temperature before adding moisture‑rich ingredients. Stabilising the temperature reduces the amount of time the appliance runs at high humidity, consequently lowering condensation.
Step 5: Clean and Maintain the Air Fryer Regularly
Residual oil and food particles can trap moisture inside the appliance, leading to increased condensation during subsequent uses. After each cooking session, remove the crisper plates and wash them in a dishwasher or with warm, soapy water. Both the Ninja Foodi DualZone Air Fryer and the Cosori TurboBlaze Air Fryer feature non‑stick, PFAS‑free cooking surfaces that are safe for dishwasher cleaning.
Inspect the vent hose and silicone seals weekly for signs of wear or blockage. Replace any damaged components promptly to maintain an airtight pathway for steam to escape. Regular maintenance not only prevents condensation but also preserves the performance and longevity of the air fryer.
Tips & Pro Tips
- Use a small bowl of uncooked rice inside the RV cabin on humid nights; the rice absorbs excess moisture without affecting air quality.
- When cooking frozen foods, allow them to thaw slightly on the countertop; this reduces the initial burst of steam.
- Set the RV’s climate control to a slightly warmer temperature while cooking; warmer ambient air holds more moisture and condenses less on cold surfaces.
- Consider a portable dehumidifier for extended trips in humid climates; a unit with a capacity of 30 pints per day is sufficient for most RV kitchens.
Troubleshooting
| Problem | Possible Cause | Solution |
|---|---|---|
| Excessive condensation on windows | Vent fan not operating or duct blocked | Check fan power, clean duct, ensure vent cover is not obstructed. |
| Steam pooling on the countertop | Insufficient clearance under the air fryer | Raise the appliance using a silicone mat or small riser to improve airflow. |
| Persistent musty odor | Residual moisture inside the appliance | Perform a deep clean of the interior, run a short cycle with a slice of lemon to deodorise. |
Conclusion
The reader now possesses a systematic approach to preventing air fryer condensation in an RV environment. By assessing the kitchen layout, installing dedicated venting, positioning the appliance correctly, managing moisture during cooking, and maintaining the device, condensation can be reduced dramatically. The recommended Ninja Foodi DualZone Air Fryer and Cosori TurboBlaze Air Fryer provide reliable performance and built‑in features that support these strategies. Implementing these practices will protect the RV interior, improve cooking results, and enhance overall travel comfort.
Products Mentioned in This Guide
Frequently Asked Questions
What causes condensation when using an air fryer in an RV?
The hot steam released during cooking meets the cool RV interior, causing moisture to condense on surfaces.
How can I properly vent an air fryer to reduce moisture buildup?
Install a compact vent kit or small exhaust fan that directs steam outside or into a vented cabinet.
Where should I place the air fryer in the RV kitchen for optimal airflow?
Position it on a heat‑resistant silicone mat near a window or vent, away from walls that can trap steam.
Are there accessories that help prevent condensation around the air fryer?
Yes, heat‑resistant mats, adjustable shelving, and a dedicated exhaust fan all minimize moisture accumulation.
How often should I clean the vent and interior to keep condensation under control?
Clean the vent and air fryer interior after each use or at least weekly to remove grease and moisture residues.