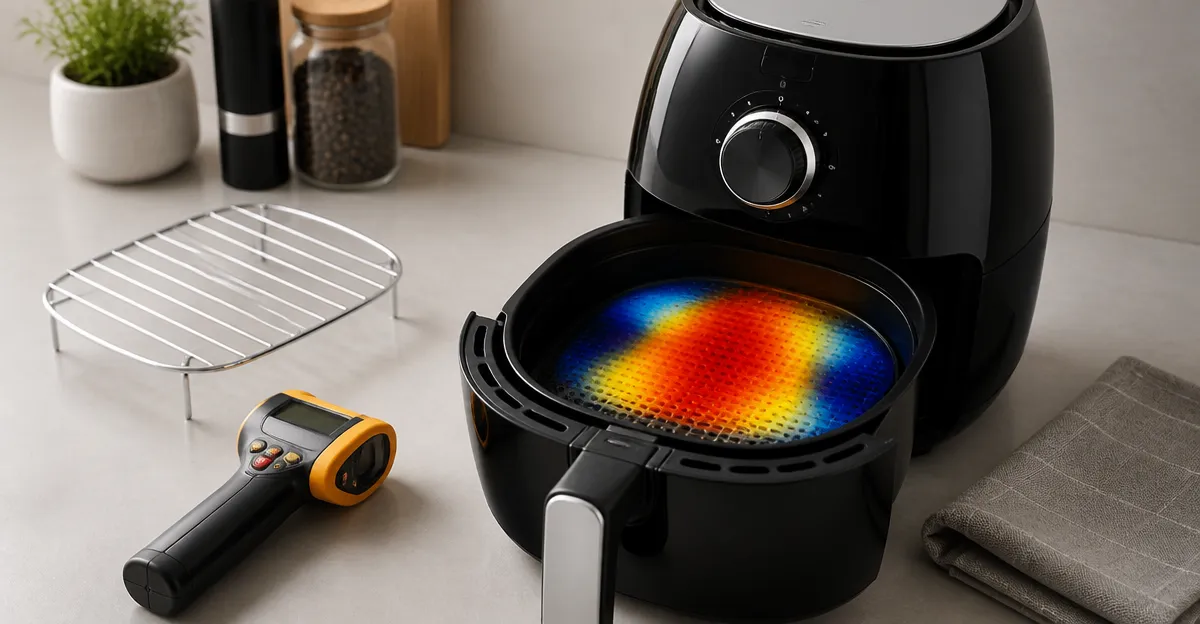
How to Map Hot Spots in a Mini Air Fryer: Quick Step‑by‑Step Test to Find Hot Zones and Get Even Cooking
Introduction
Even cooking is the hallmark of a well‑designed air fryer, yet many compact models develop uneven temperature zones that leave some bites soggy while others burn. This guide teaches readers how to locate those hot spots quickly, why the knowledge matters, and how to adjust cooking techniques for uniform results. By the end of the article, one will be able to run a simple test, interpret the findings, and apply practical fixes without purchasing additional equipment.
The process requires only a few household items and, optionally, a mini air fryer that excels in compact performance. Understanding hot zones helps reduce food waste, improve texture, and extend the life of the appliance by avoiding unnecessary strain.
What You'll Need
- One of the recommended mini air fryers (see product list below)
- Standard white bread slices (or any uniform food item)
- Aluminum foil or parchment paper
- Digital kitchen timer (most smartphones suffice)
- Optional: silicone mat for easy cleanup
Step 1: Prepare the Test Sample
Begin by laying three slices of white bread on a single layer of aluminum foil. The bread provides a consistent surface that changes color visibly when exposed to different temperatures. Cut the foil into a square slightly larger than the fryer basket to prevent food from slipping.
If using the Cosori Lite Air Fryer, its 2.1‑qt basket measures 5.9 × 6.2 in, offering ample room for the three slices side by side. The device’s 900 W power and 170‑400 °F temperature range make it ideal for a rapid test. At $49.98 and a 4.5‑star rating from 8,538 reviews, it balances affordability with reliable performance.
Place the foil‑wrapped bread inside the basket, ensuring each slice occupies a distinct quadrant: top‑left, top‑right, and center. This arrangement will reveal temperature variations across the cooking area.
Step 2: Set a Baseline Temperature and Time
Program the air fryer to 350 °F for 5 minutes. This temperature is high enough to produce noticeable browning without scorching the bread. The 5‑minute interval provides a clear visual contrast while keeping the test short.
For the DEIME 3 Qt Digital Air Fryer, the touchscreen lets you adjust temperature in 5‑degree increments and set a precise timer. Priced at $39.99 with a 4.4‑star rating from 1,133 reviews, it offers a user‑friendly interface that reduces the chance of input error.
Start the cycle and note the exact time when the unit beeps that cooking is complete.
Step 3: Observe and Record Browning Patterns
Immediately after the cycle ends, open the basket and examine each slice. The slice that appears darkest indicates the hottest zone, while the lightest slice marks the coolest area. Use a smartphone camera to capture the differences for later reference.
If you are using the Dash Tasti‑Crisp Air Fryer, its analog temperature dial provides a tactile feel that some users find more reliable than digital readouts. At $49.98 and a 4.5‑star rating from 33,630 reviews, it delivers consistent heat distribution thanks to AirCrisp™ technology.
Document the position of the darkest slice (e.g., “top‑left”) and the lightest slice (e.g., “center”). This information forms the basis for subsequent adjustments.
Step 4: Rotate the Basket and Repeat
To confirm the hot spot, repeat the test after rotating the basket 90 degrees. This ensures that the observed browning is not caused by irregularities in the bread itself. Place the foil‑wrapped slices in the same positions relative to the basket’s interior, but rotate the entire basket clockwise.
The Instant Pot Vortex 4Qt Air Fryer includes a clear window and internal light, allowing you to watch the browning process without opening the unit. Its 1500 W power and 4.6‑star rating from 13,960 reviews make it a robust choice for repeated testing.
After the second run, compare the new browning pattern with the first. Consistent darkening in the same physical area confirms a true hot zone.
Step 5: Adjust Cooking Strategy Based on Findings
Once the hot zone is identified, modify your regular cooking routine to compensate. Common adjustments include:
- Rotating the food halfway through the cooking cycle
- Shaking the basket more frequently for small items
- Positioning larger pieces toward the cooler side of the basket
For the COMFEE' 2.1 Qt Mini Air Fryer, the manual dials allow quick temperature tweaks between 180‑400 °F. At $42.99 and a 4.6‑star rating from 1,264 reviews, its 12 preset functions can be combined with manual rotation to achieve even results.
Implementing these simple tactics eliminates the need for expensive external temperature probes while still delivering uniformly crisp food.
Tips & Pro Tips
- Preheat briefly. A 2‑minute preheat at the target temperature stabilizes the heating element and reduces initial temperature spikes.
- Use a silicone mat. Placing a thin, heat‑resistant silicone mat under the foil can protect the basket and make cleanup easier.
- Batch cooking. When preparing multiple items, arrange them so that those requiring more crispness occupy the hotter quadrant.
- Document settings. Keep a small notebook of temperature, time, and rotation patterns for each recipe; this speeds up future cooking sessions.
Troubleshooting
- Issue: Bread burns in all zones.
Solution: Lower the temperature by 25 °F and increase cooking time by 1‑2 minutes. - Issue: No discernible color difference.
Solution: Extend the test to 7 minutes or increase temperature to 375 °F to amplify the contrast. - Issue: Basket emits a burning odor after repeated tests.
Solution: Clean the heating coil with a soft brush and run a test cycle with an empty basket to clear residue.
Conclusion
Mapping hot spots in a mini air fryer is a straightforward process that empowers users to achieve evenly cooked meals without guesswork. By following the five steps—preparing a uniform test sample, setting a baseline, observing browning, rotating the basket, and adjusting cooking techniques—one can identify temperature irregularities and compensate effectively. The optional product recommendations enhance convenience but are not mandatory; the core method works with any compact air fryer.
Armed with this knowledge, readers can reduce food waste, improve texture, and enjoy the full potential of their countertop appliance.
Products Mentioned in This Guide
Frequently Asked Questions
What is the simplest method to locate hot spots in a mini air fryer?
Arrange equal‑thickness bread slices on foil, run a brief fry cycle, and observe which slices brown or crisp first.
Why does mapping hot spots matter for cooking results?
Knowing hot zones helps you rotate food or adjust placement, preventing soggy spots and burnt edges for more even cooking.
What household items are needed for the hot‑spot test?
You only need a mini air fryer, uniform bread slices, aluminum foil or parchment, and a timer (a phone works).
How can I compensate for identified hot zones without buying new equipment?
Rotate the basket halfway through cooking or position delicate foods away from the hottest area to achieve uniform texture.
Can the hot‑spot test be repeated for different recipes?
Yes, repeat the bread test after cleaning the fryer or when using new accessories to verify that hot zones remain consistent across dishes.