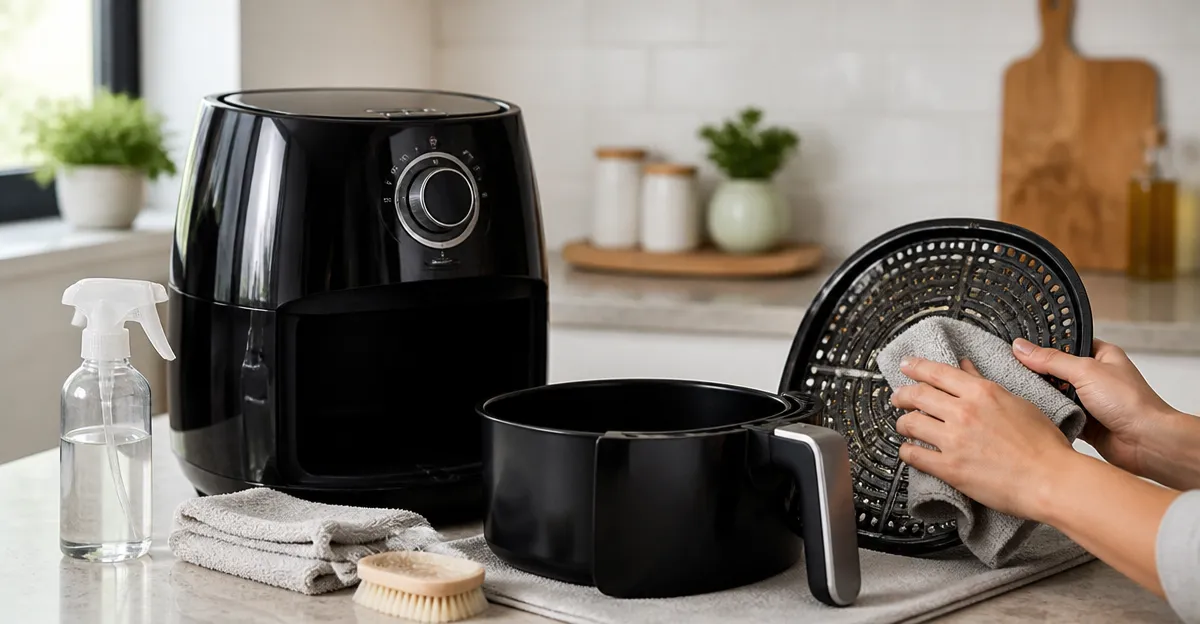
How to Clean an Air Fryer in Under 10 Minutes: Speedy Turnaround Cleaning for Airbnb Hosts
Introduction
Air fryers are a staple in many Airbnb kitchens because they provide quick, healthy meals for guests. However, rapid turnover can leave greasy residue and food particles that compromise performance and hygiene. This guide teaches hosts how to achieve a sparkling clean air fryer in less than ten minutes, ensuring each guest enjoys a fresh cooking experience. The method relies on widely available, highly rated cleaning tools, allowing hosts to maintain consistency without extensive downtime.
Readers will learn a step‑by‑step workflow, the rationale behind each product, and best‑practice tips that prevent damage while maximizing efficiency. By following the procedure, hosts can reduce cleaning labor, extend appliance lifespan, and uphold five‑star reviews.
What You'll Need
- OXO Deep Clean Brush Set – large and small brushes with non‑slip grips.
- Lysol Kitchen Cleaner Spray – citrus‑scented disinfectant for surfaces.
- OXO Grill & Panini Brush – flexible bristles and silicone wiper for grill plates.
- Easy-Off Heavy Duty Degreaser – powerful spray for stubborn grease.
- Soft microfiber cloths, paper towels, and a small bowl of warm soapy water.
Step 1: Power Down and Disassemble
Begin by unplugging the air fryer and allowing it to cool for at least two minutes. Remove the basket, tray, and any removable racks. This creates unobstructed access to interior surfaces and prevents electrical hazards. Place the components on a heat‑resistant surface to avoid scratches.
The disassembly step is essential because most cleaning tools, such as the OXO Deep Clean Brush Set, work most effectively on detached parts. When components are separated, the brushes can reach crevices that are otherwise hidden.
Step 2: Remove Loose Debris
Using a dry paper towel, wipe away any loose crumbs, burnt bits, or excess oil from the basket and tray. For stubborn particles, tap the basket gently over a trash bin. This preliminary removal reduces the amount of chemical spray needed, preserving the appliance’s finish.
At this stage, the small brush from the OXO Deep Clean Brush Set can be employed to sweep away debris lodged in the corners of the basket. The brush’s pointed bristles are designed for tight spaces, making it ideal for this micro‑cleaning task.
Step 3: Apply a Degreaser to Heavy‑Build Up
If the basket or interior shows baked‑on grease, spray a light coating of Easy-Off Heavy Duty Degreaser. This product penetrates stubborn grease within seconds, as highlighted by its 4.5‑star rating from over 14,000 reviewers. Hold the can about six inches away and apply a thin mist to the affected areas.
Allow the degreaser to sit for 30–45 seconds. The formulation breaks down oil molecules, reducing the scrubbing effort required later. Because the spray is quick‑drying, it does not linger on non‑porous surfaces, minimizing the risk of residue.
Step 4: Scrub with the Large Brush
Take the large brush from the OXO Deep Clean Brush Set and work it around the basket’s interior, the heating element housing, and the outer cavity. The brush’s sturdy nylon bristles and ergonomic non‑slip grip enable firm pressure without hand fatigue.
Focus on the grill ridges and the underside of the tray where grease accumulates. The brush’s angled head reaches grout‑like seams, ensuring an even clean. For extra leverage, press the thumb pad on the back of the brush head, a feature praised for its comfort during vigorous scrubbing.
Step 5: Clean the Grill Plates with a Specialized Brush
Turn to the OXO Grill & Panini Brush for the grill plates. Its thin, flexible bristles safely remove food residue from non‑stick surfaces while the heat‑resistant silicone wiper blade scrapes away grease without scratching.
Run the brush along each ridge, applying gentle pressure. The silicone blade can be used to push away stubborn bits, acting like a scraper while preserving the coating. This dual‑action tool eliminates the need for a separate metal scraper, streamlining the process.
Step 6: Disinfect the Exterior
While the interior dries, spray Lysol Kitchen Cleaner Spray onto a microfiber cloth and wipe the exterior control panel, handle, and door. Lysol’s citrus‑scented formula eliminates 99.9% of bacteria and viruses, a critical factor for high‑turnover rentals.
The spray leaves no harsh residue, and the fresh scent contributes to a pleasant guest experience. Ensure that any food‑contact surfaces are rinsed with water after application, as recommended by the manufacturer.
Step 7: Rinse and Dry
Rinse the basket, tray, and grill plates under warm running water to remove any remaining cleaning agents. Use a clean microfiber cloth to dry each component thoroughly; moisture left inside can cause steam buildup during the next use.
For a faster turnaround, pat the parts dry with paper towels and allow them to air‑dry for 30 seconds on a clean countertop. The non‑slip handles of the brushes aid in quick handling, reducing overall drying time.
Step 8: Reassemble and Test
Once all components are dry, reassemble the air fryer in the reverse order of disassembly. Plug the unit back in and run a short 2‑minute empty cycle at 200 °C to evaporate any residual moisture and to verify that the appliance functions correctly.
A quick test cycle also helps to burn off any remaining cleaning odors, ensuring the next guest encounters a neutral‑scented environment.
Tips & Pro Tips
- Work in a well‑ventilated area when using the Easy-Off Heavy Duty Degreaser to avoid inhaling fumes.
- For daily maintenance, a light spray of Lysol Kitchen Cleaner Spray after each use prevents buildup and reduces the need for heavy‑duty cleaning.
- Store the brushes upright in a dry holder to maintain bristle shape and prevent mold growth.
- If the air fryer has a removable crumb tray, clean it with the small brush from the OXO Deep Clean Brush Set for precision.
Troubleshooting
Problem: Persistent oily film after cleaning.
Solution: Apply a second light coat of the Easy-Off Heavy Duty Degreaser, let it sit longer (up to two minutes), and scrub again with the large brush.
Problem: Residual chemical smell.
Solution: Run an empty 5‑minute cycle at the highest temperature, then wipe the interior with a damp cloth to flush out any remaining product.
Conclusion
By following this eight‑step protocol, Airbnb hosts can clean an air fryer in under ten minutes while preserving the appliance’s performance and ensuring guest safety. The combination of a high‑quality brush set, a powerful degreaser, and a reliable disinfectant delivers a comprehensive clean without excessive labor. Implement these practices consistently to maintain a reputation for immaculate accommodations.
Products Mentioned in This Guide
Frequently Asked Questions
How long does it really take to clean an air fryer for Airbnb turnover?
With the right tools and a step‑by‑step routine, you can finish a thorough clean in under ten minutes.
Which cleaning tools are essential for a quick air fryer cleanup?
An OXO Deep Clean Brush Set (large and small brushes) and a non‑abrasive sponge are the most effective and widely available.
Can I use dish soap on the air fryer basket without damaging it?
Yes, a few drops of mild dish soap on a soft brush safely removes grease without harming the non‑stick coating.
How often should I deep‑clean the heating element to maintain performance?
Inspect and wipe the heating element after every 5‑10 uses to prevent buildup that can affect cooking results.
What tips prevent odors or lingering food smells between guests?
Rinse the basket and tray with hot water, dry completely, and run a quick 2‑minute empty cycle to clear any residual odors.