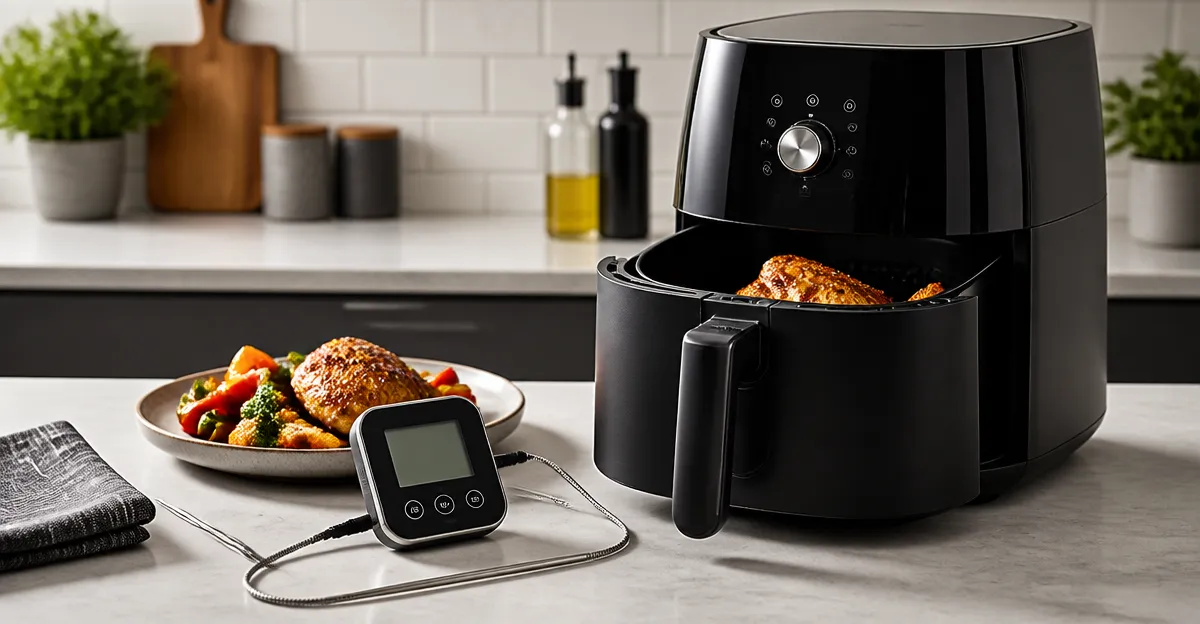
How to Calibrate Your Air Fryer Temperature: Step‑by‑Step Guide for Accurate, Consistent Cooking
Accurate temperature control is the cornerstone of successful air‑frying. When the internal thermostat drifts, food may be undercooked, overcooked, or unevenly browned, leading to wasted ingredients and frustration. This guide explains how to measure, adjust, and verify your air fryer’s temperature so that every meal turns out as intended. By following the procedures below, readers will gain confidence in their appliance and achieve professional‑grade results at home.
What You'll Need
- Digital oven thermometer (recommended accuracy ±2°F)
- Pen and paper or note‑taking app for recording readings
- Access to the air fryer’s temperature settings
- Optional: a reliable air fryer such as the Cosori TurboBlaze Air Fryer for its precise fan speeds and preheat function
Step 1: Prepare the Air Fryer and Thermometer
Begin by placing the digital thermometer inside the fryer basket, ensuring the probe does not touch the metal walls. Set the air fryer to a mid‑range temperature, for example 350°F, and allow it to preheat for the full preheat cycle if the model offers one. The Cosori TurboBlaze Air Fryer features a customizable preheat program that adjusts time based on temperature, making this step quicker and more reliable. Record the ambient room temperature, as extreme kitchen heat can affect calibration.
Step 2: Record the Actual Temperature
After the preheat completes, open the basket briefly to read the thermometer display. Note the temperature shown and compare it to the set temperature of 350°F. If the reading deviates by more than 5°F, the unit requires adjustment. The TurboBlaze’s 5‑speed fan system delivers consistent airflow, which helps maintain stable temperatures during testing.
Step 3: Adjust the Temperature Setting
Most air fryers lack a direct calibration knob, but many allow manual offset through the control panel. Increase or decrease the set temperature by 5°F increments until the thermometer reading aligns with the target. For models without an offset option, you can compensate by adjusting the cooking time based on the measured variance. The Ninja Air Fryer Pro, with its 1750‑watt heating element and precise 400°F maximum, responds predictably to small adjustments, making it an excellent alternative for users seeking fine‑tuned control.
Step 4: Verify Consistency Across Multiple Temperatures
Repeat the measurement process at low (300°F), medium (400°F), and high (450°F) settings to ensure the thermostat is accurate across the full range. Document each reading in a table for future reference. The Gourmia 4 Qt Air Fryer offers 12 one‑touch presets and a digital display, allowing quick switching between temperatures for efficient verification.
Step 5: Implement a Calibration Log
Maintain a simple log that includes the date, ambient kitchen temperature, set temperature, measured temperature, and any adjustments made. Over time, this log will reveal patterns such as seasonal drift or wear‑related changes. The Chefman 6 Qt Air Fryer’s LED shake notifications can remind you to check the log after each cooking session, reinforcing consistent habits.
Tips & Pro Tips
- Perform calibration when the appliance is clean; residual oil can affect heat distribution.
- Allow the air fryer to cool completely before making any internal adjustments or cleaning.
- Use the TurboBlaze’s quiet operation mode (<53dB) to take readings without background noise interfering with the thermometer.
- For large batches, place the thermometer in the center of the basket to capture the most representative temperature.
Troubleshooting
- Thermometer reads consistently higher than set temperature: Reduce the set temperature by 5‑10°F or check for obstructed airflow.
- Temperature fluctuates wildly between readings: Verify that the fan is unobstructed and that the basket is properly seated.
- Device shuts off during preheat: Ensure the safety lock is engaged and that the power outlet provides stable voltage.
Conclusion
Calibrating your air fryer’s temperature ensures that recipes turn out as intended, reduces waste, and extends the lifespan of the appliance. By measuring, adjusting, and logging temperature data, users can enjoy reliable, restaurant‑quality results with every use. Whether you employ the Cosori TurboBlaze for its advanced fan technology or the Ninja Air Fryer Pro for its robust heating element, the principles remain the same: precise measurement, thoughtful adjustment, and consistent verification.
Products Mentioned in This Guide
Frequently Asked Questions
Why should I calibrate my air fryer’s temperature?
Calibration ensures the set temperature matches the actual heat, preventing undercooked or overcooked food and improving consistency.
What tool is recommended for measuring the air fryer’s temperature?
A digital oven thermometer with ±2°F accuracy is recommended for precise readings.
How do I position the thermometer inside the air fryer for accurate results?
Place the probe in the basket away from the metal walls and without touching the food.
Can I adjust the temperature after measuring a discrepancy?
Yes; most air fryers allow you to offset the temperature setting by a few degrees in the control menu.
How often should I re‑check my air fryer’s temperature?
Re‑check every few months or whenever you notice cooking inconsistencies to maintain accuracy.
Frequently Asked Questions
What should I know about fryer temperature calibration?
Use the details in this guide to decide. The sections above cover the tradeoffs, specs, and product options related to fryer temperature calibration.