How to Vent an Air Fryer Under Cabinets: Safe, Step-by-Step Under-Cabinet Ventilation Solutions
Introduction
This guide explains how to provide adequate ventilation for an air fryer installed beneath kitchen cabinets. Proper airflow prevents heat buildup, reduces fire risk, and preserves the longevity of both the appliance and surrounding cabinetry. Readers will learn to assess space, select appropriate venting methods, install hardware, and maintain a clean cooking environment. By following these instructions, one can enjoy the convenience of countertop cooking without compromising safety.
What You'll Need
- Measuring tape
- Stud finder
- Drill with appropriate bits
- Vent hood or duct kit (compatible with kitchen cabinets)
- Heat‑resistant silicone sealant
- Mounting brackets
- Optional: Ninja XL Air Fryer (price $119.99, rating 4.7/5)
- Optional: Bella Slim Air Fryer (price $59.98, rating 4.6/5)
- Optional: SEIWEI Air Fryer Liners (price $8.99, rating 4.4/5)
Step 1: Assess Cabinet Space
Begin by measuring the vertical clearance between the countertop and the bottom of the upper cabinet. Most air fryers require at least 12‑inch clearance to allow hot air to escape without contacting the cabinet surface. Use a stud finder to locate any structural members that could interfere with vent placement. If the space is limited, consider the Bella Slim Air Fryer, whose compact profile fits tighter gaps while still delivering 1300 W of power and six preset functions.
Step 2: Choose a Ventilation Method
Two common approaches are passive vent grilles and active ducted hoods. Passive grilles rely on natural convection and are suitable for low‑heat appliances, whereas active hoods use a small fan to force air out of the cabinet cavity. For high‑heat models such as the Ninja XL Air Fryer, which reaches 450°F and consumes 1750 W, an active ducted hood is recommended to prevent heat accumulation.
The Ninja XL Air Fryer’s large 6.5‑qt basket can produce significant heat during batch cooking, making a powered vent essential for safety. An active hood typically costs $30‑$70 and can be installed with standard mounting brackets.
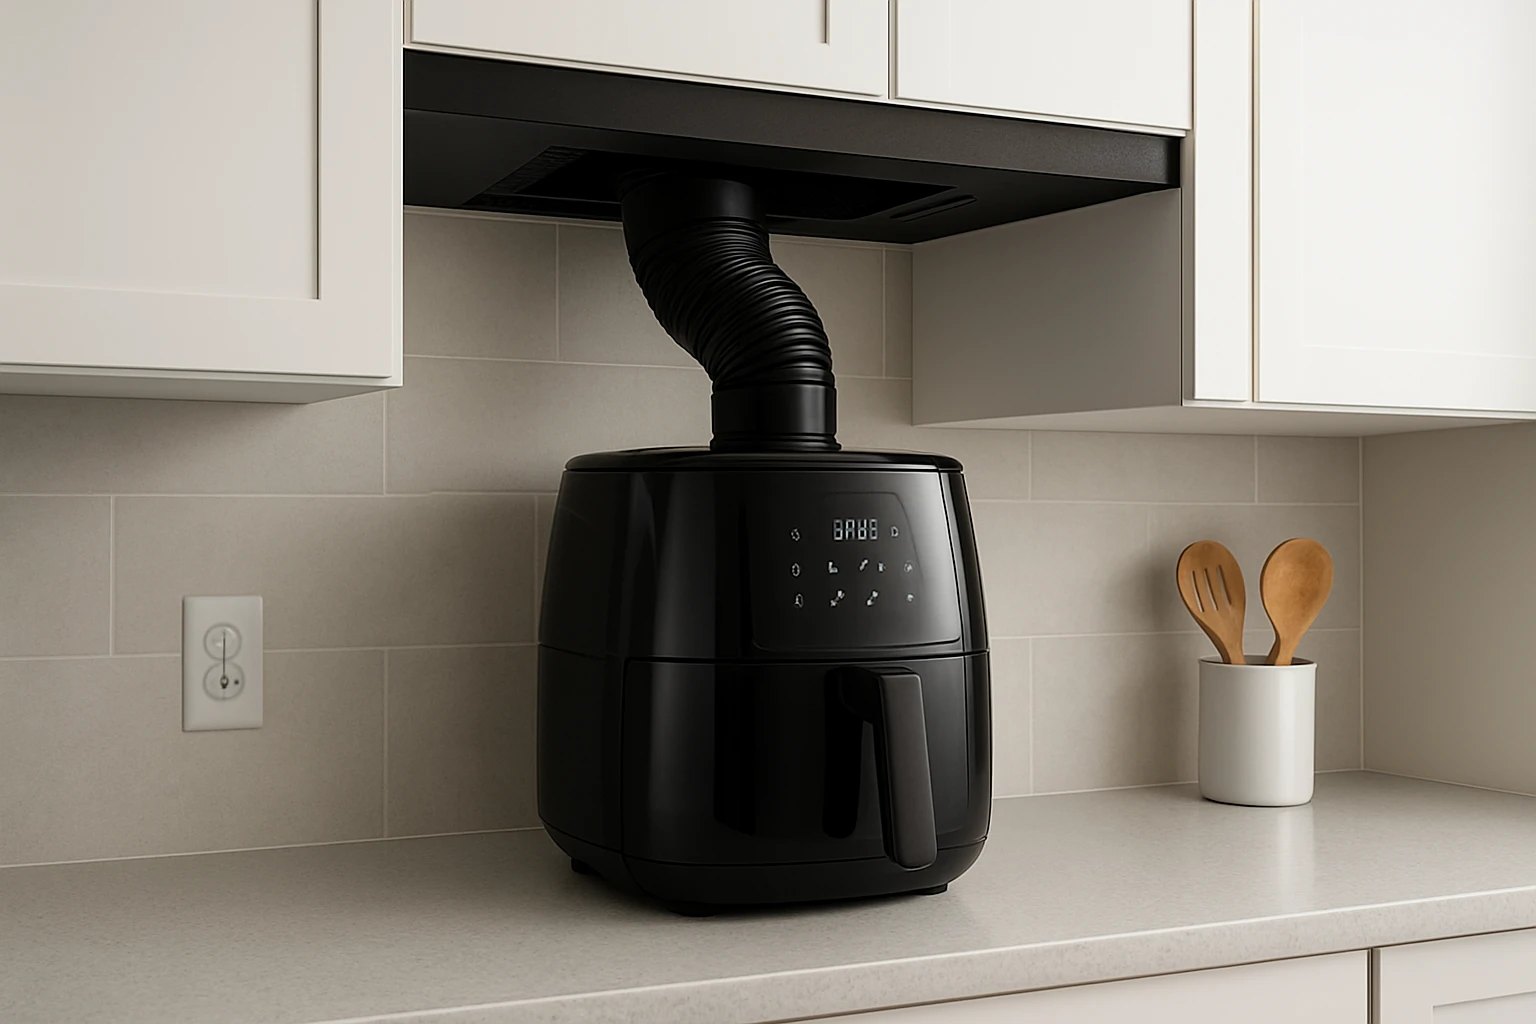
Step 3: Install the Vent Hood or Duct
Mark the desired vent location on the cabinet side panel, ensuring it aligns with the air fryer’s rear exhaust opening. Drill pilot holes for the mounting brackets, then secure the vent using screws provided in the kit. Apply heat‑resistant silicone sealant around the edges to create an airtight seal. Connect the duct to an exterior vent or a kitchen exhaust fan, following local building codes.
If space permits, install a removable grill to allow easy cleaning of grease buildup. This step reduces fire hazard and maintains airflow efficiency.
Step 4: Position the Air Fryer
Slide the air fryer into the cleared space, leaving at least one inch of clearance on all sides for air circulation. For the Ninja XL Air Fryer, position the unit so the exhaust aligns directly with the vent opening; the non‑stick basket and crisper plate are dishwasher‑safe, simplifying cleanup. For smaller kitchens, the Bella Slim Air Fryer can be placed closer to the cabinet due to its slimmer design, yet still benefits from the same venting setup.
Step 5: Test Airflow and Temperature
Run the air fryer on a high‑heat setting (e.g., 400°F) for five minutes while monitoring the cabinet temperature with an infrared thermometer. The surface should not exceed 120°F. If temperatures rise, verify that the vent is unobstructed and that the duct is properly sealed. Adjust the fan speed of the active hood if necessary.
Step 6: Add Protective Liners for Easy Cleanup
Place SEIWEI Air Fryer Liners on the basket bottom before cooking. These perforated parchment sheets prevent food residue from adhering to the non‑stick surface, and they are heat‑resistant up to 230°C. Using liners reduces the frequency of deep cleaning and protects the basket’s ceramic coating, extending the appliance’s lifespan.
Tips & Pro Tips
- Always unplug the air fryer before adjusting its position or cleaning the vent.
- Schedule monthly vent inspections to remove grease buildup that can impair airflow.
- Use silicone‑coated tongs to handle hot food without scratching the basket surface.
- When cooking large batches, pause halfway to stir the food; this promotes even heat distribution and reduces the load on the vent.
Troubleshooting
- Excessive heat in cabinets: Check that the vent duct is not kinked and that the fan is operating at the recommended speed.
- Unusual odors: Clean the vent grill and replace any burnt food particles; use SEIWEI liners to minimize residue.
- Air fryer does not start: Verify that the power cord is fully seated and that the outlet is not overloaded by other high‑wattage appliances.
Conclusion
Ventilating an air fryer under cabinets requires careful measurement, selection of an appropriate venting system, and diligent installation. By following the steps outlined above, one can enjoy the convenience of countertop cooking while maintaining a safe, heat‑free kitchen environment. Remember to test airflow, use protective liners, and perform regular maintenance for optimal performance.
Products Mentioned in This Guide
Frequently Asked Questions
Is venting required for an air fryer placed under kitchen cabinets?
Yes, proper venting prevents heat buildup, reduces fire risk, and protects both the appliance and cabinetry.
What type of vent hood is best for under‑cabinet air fryer ventilation?
A low‑profile, heat‑resistant vent hood with a compatible duct kit fits tight spaces and provides efficient airflow.
How far should the vent be from the back of the air fryer?
Maintain at least 2‑3 inches clearance to allow unrestricted airflow and avoid heat accumulation.
Can a standard kitchen duct kit be used for an air fryer vent?
A standard duct kit can work if it matches the vent size and is rated for high‑temperature appliance exhaust.
How often should the vent and sealant be cleaned?
Inspect and clean the vent and silicone sealant monthly to remove grease and ensure optimal performance.