Introduction
Moving an air fryer into an RV presents unique challenges because space is limited and vibrations are constant. This guide will teach the reader how to protect the appliance, maximize storage, and avoid costly damage during transit. By following the step‑by‑step instructions, one will learn to secure the unit, organize accessories, and maintain optimal functionality after the move. The information is valuable for anyone who enjoys the convenience of air‑fried meals while traveling in a compact vehicle.
What You’ll Need
- Protective packing material (bubble wrap, foam sheets, or moving blankets)
- Strong adhesive tape
- Reusable zip‑lock bags for accessories
- Label markers
- Ofiray Magnetic Fridge Shelf – optional for organizing accessories inside the RV
- Ninja Air Fryer Toaster Oven – the air fryer model used in examples
Step 1: Prepare the Air Fryer
The first action is to unplug the appliance and allow it to cool completely for at least thirty minutes. Remove the crumb tray, air‑fry basket, and any removable accessories, then wash them with mild soap and dry thoroughly. Place each component in a separate zip‑lock bag to prevent moisture and to keep small parts together. This preparation reduces the risk of rust or internal damage caused by residual water during the move.
Step 2: Secure the Exterior
Wrap the main unit in a layer of bubble wrap, covering all sides and corners. For additional cushioning, place a sheet of foam or a moving blanket over the bubble‑wrapped unit and secure it with adhesive tape. The tape should be applied in a criss‑cross pattern to keep the protective layers from shifting. This method absorbs shocks from road vibrations and protects the stainless‑steel housing from scratches.
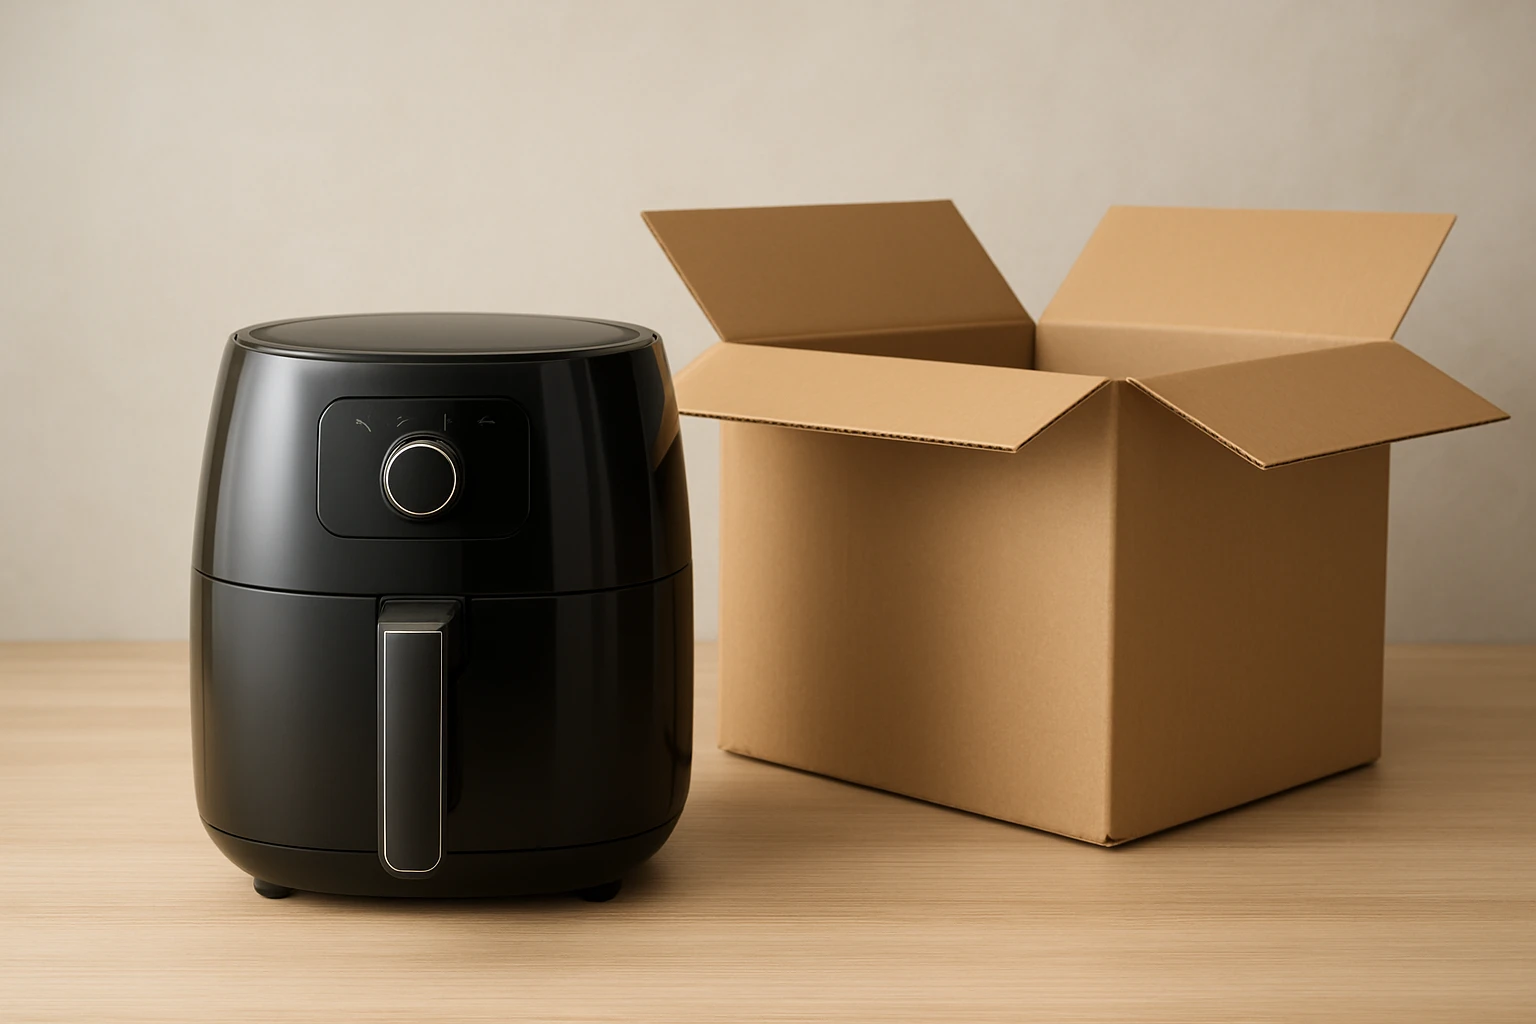
Step 3: Use a Dedicated Packing Box
Select a sturdy cardboard box that is at least two inches larger than the air fryer in every dimension. Line the bottom of the box with a layer of packing peanuts or crumpled paper, then place the wrapped appliance in the center. Fill any remaining gaps with additional peanuts to prevent movement. Close the box, reinforce the seams with tape, and label the exterior with "Fragile – Keep Upright".
Step 4: Organize Accessories with the Ofiray Magnetic Fridge Shelf
Inside the RV, space is at a premium, and loose accessories can become hazards during travel. The Ofiray Magnetic Fridge Shelf offers a magnetic suction capability that supports up to 15 kg, allowing it to attach securely to metal surfaces such as the RV refrigerator or a metal cabinet. By placing the zip‑locked bags of accessories on this shelf, one creates a tidy, easily accessible storage zone without drilling holes. The shelf’s tiered design provides clear visibility, and its modern pink finish adds a pleasant aesthetic to the kitchen area.
Key specifications of the Ofiray Magnetic Fridge Shelf include a large storage capacity, a weight‑bearing limit of 15 kg, and a tool‑free installation process. It is priced at $24.63 and holds a rating of 4.8 out of 5 stars from 2,739 reviews, indicating high customer satisfaction. These attributes make it an excellent, low‑cost solution for keeping accessories organized while the air fryer remains safely packed.
Step 5: Position the Box in the RV
Place the sealed box on a flat surface, preferably on the floor of the RV where it will not shift during cornering. If the RV has built‑in cargo nets or straps, thread them around the box and tighten to secure it. Ensure the box remains upright; the air fryer’s heating elements are designed for vertical orientation and can be damaged if laid on its side for extended periods.
Step 6: Pack the Ninja Air Fryer Toaster Oven for Long‑Term Storage
When the air fryer will not be used for several weeks, consider emptying the interior of any residual oil by wiping it with a paper towel. Then, place a thin layer of silicone baking mat inside the basket to absorb any lingering moisture. This precaution prevents odor buildup and protects the non‑stick coating from deterioration.
The Ninja Air Fryer Toaster Oven is an 8‑in‑1 appliance featuring OvenCrisp Technology, a large capacity that can handle up to 4 lb of food, and a flip‑up design that saves up to 50 % of countertop space. Priced at $159.95 with a rating of 4.6 out of 5 stars from 29,532 reviews, it is a reliable, high‑performance tool for RV living. Its compact footprint makes it ideal for the limited storage areas typical of motorhomes.
Step 7: Final Safety Checks
Before setting off, verify that all tape is secure, the box is firmly strapped, and the magnetic shelf is attached to a stable metal surface. Double‑check that no loose wires or cords are left dangling, as they could become entangled in moving parts. Conduct a brief test by gently shaking the box; if there is no internal movement, the packing is successful.
Tips & Pro Tips
- Label each zip‑lock bag with its contents to avoid confusion when unpacking.
- Use a small handheld vacuum to remove crumbs from the crumb tray before packing; this reduces the chance of fire hazards.
- Consider placing a small desiccant packet inside the box to control humidity during long trips.
- If the RV has a built‑in refrigerator with a magnetic surface, the Ofiray Magnetic Fridge Shelf can double as a holder for spices, preserving kitchen organization.
- When the RV is parked, keep the air fryer upright for at least 24 hours before the first use to allow any internal fluids to settle.
Troubleshooting
Problem: The air fryer does not heat after the move.
Solution: Ensure the power cord is fully inserted and the outlet provides the correct voltage. Check the internal fuse, which can be accessed by removing the back panel; replace it if it appears blown.
Problem: The basket is sticky or smells of burnt food.
Solution: Soak the basket in warm, soapy water for fifteen minutes, then scrub with a non‑abrasive sponge. Rinse thoroughly and dry before reassembly.
Conclusion
By following the outlined steps, one can pack an air fryer for RV travel in a manner that safeguards the appliance, conserves valuable space, and simplifies unpacking at the destination. The recommended tools—the Ofiray Magnetic Fridge Shelf and the Ninja Air Fryer Toaster Oven—enhance organization and provide reliable performance, yet the guide remains useful even without purchasing them. Proper preparation, secure packaging, and thoughtful placement ensure that delicious, healthy meals are always within reach, no matter how far the road leads.
Products Mentioned in This Guide
Frequently Asked Questions
How can I protect my air fryer from damage during an RV move?
Wrap the unit in bubble wrap or foam sheets, secure with strong adhesive tape, and place it in a sturdy box to absorb vibrations.
What packing materials are best for securing an air fryer in limited RV space?
Use bubble wrap, foam sheets, or moving blankets combined with zip‑lock bags for accessories and label everything for quick identification.
How should I organize the air fryer accessories for easy access in an RV?
Store accessories in reusable zip‑lock bags and attach a magnetic fridge shelf (like the Ofiray shelf) to keep them within reach.
Is it necessary to unplug and cool the air fryer before packing it?
Yes—unplug the appliance, let it cool completely, and then clean and dry it before wrapping and packing.
Can I use a magnetic fridge shelf to store air fryer accessories in an RV?
Absolutely; the magnetic fridge shelf provides a convenient, space‑saving spot for small accessories inside the RV.