Introduction
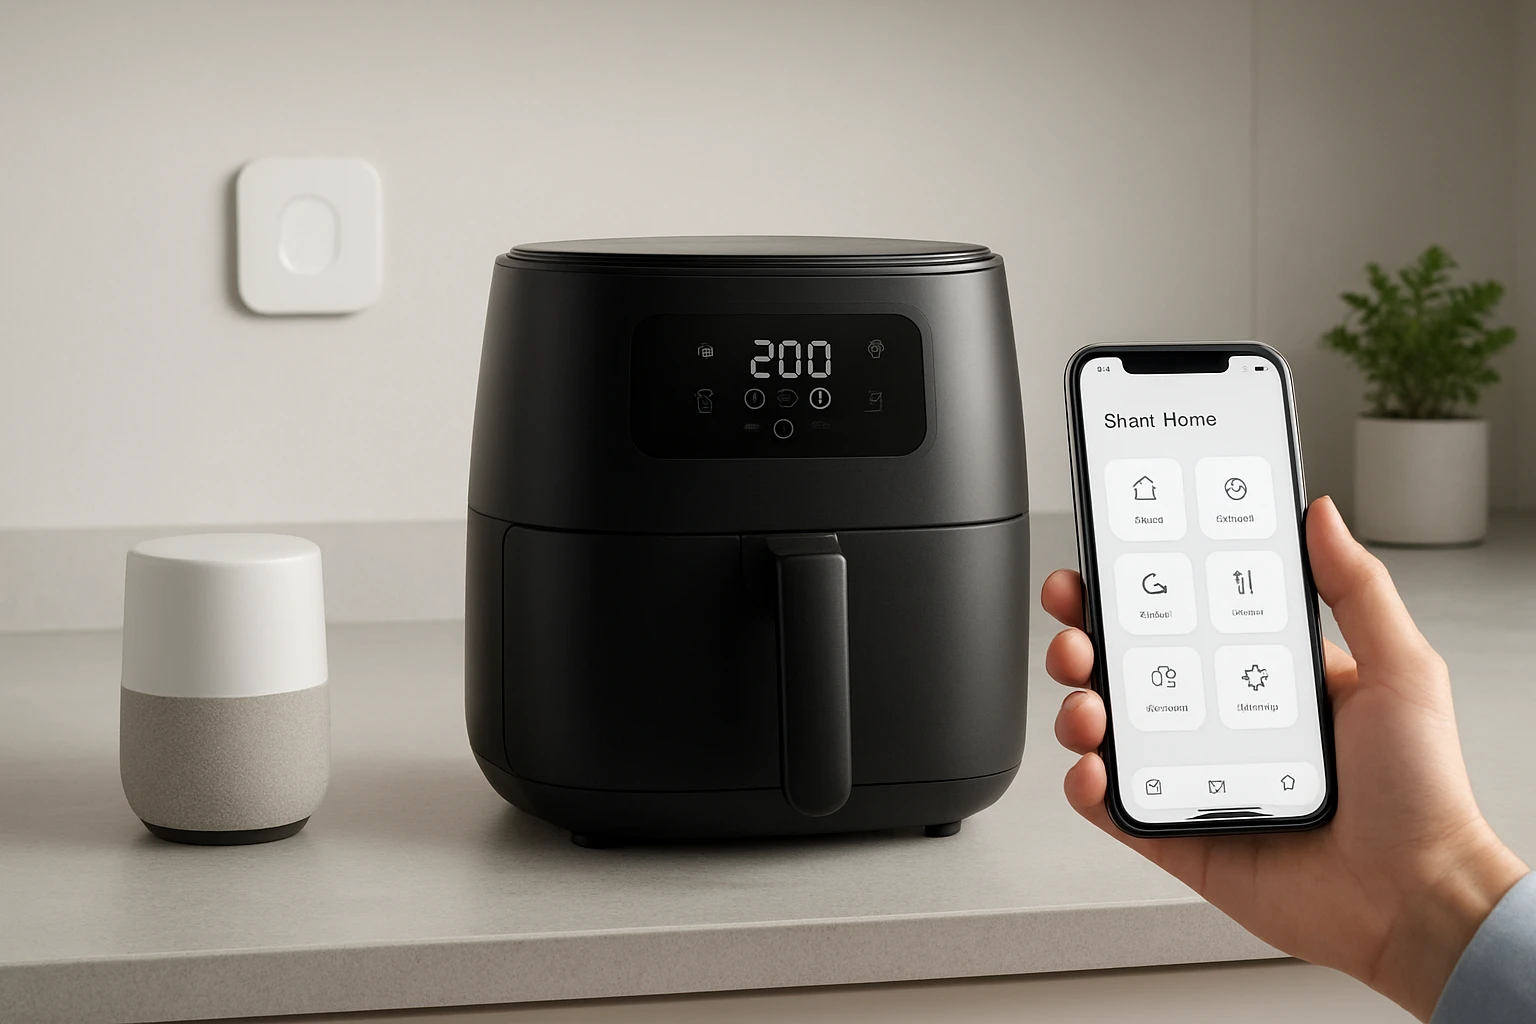
The modern kitchen increasingly relies on connected appliances to simplify daily meals. This guide explains how to create smart home automation routines that control an air fryer through Alexa, Google Home, SmartThings, and Home Assistant. Readers will learn to configure voice commands, schedule cooking cycles, and receive notifications without manual interaction. By the end of the article, one will be able to launch a perfectly cooked dish with a single spoken phrase or a scheduled event.
What You Will Need
- Wi‑Fi enabled air fryer (recommended models are listed below)
- Smartphone with the VeSync app installed
- Amazon Alexa or Google Home device linked to the same Wi‑Fi network
- SmartThings hub (optional for broader ecosystem integration)
- Home Assistant instance (Raspberry Pi or virtual machine)
- Basic knowledge of your voice assistant's routine editor
Step 1: Set Up the Air Fryer in the VeSync App
Begin by unpacking the Cosori Pro Smart Air Fryer. Connect the appliance to a power outlet and perform the manufacturer’s test run to eliminate any residual odors. Open the VeSync app, create an account, and follow the on‑screen prompts to add a new device; the app will detect the air fryer automatically when it is in pairing mode. Once linked, explore the 12 cooking functions, 200+ online recipes, and the Scan‑to‑Cook feature that reads barcodes to set temperature and time automatically. This integration provides the foundation for voice control because both Alexa and Google Assistant can communicate with VeSync‑registered devices.
The Cosori Pro Smart Air Fryer is priced at $119.99 and holds a 4.6‑star rating from 2,386 reviews, indicating reliable performance. Its 5.8‑quart capacity accommodates family‑size meals, while the 1700 W motor ensures rapid heating between 170 °F and 400 °F. The detachable basket simplifies cleaning, and the device supports Alexa and Google Assistant out of the box, eliminating the need for third‑party bridges.
Step 2: Link the Air Fryer to Alexa and Google Home
Open the Alexa app, navigate to "Skills & Games," and search for the VeSync skill. Enable the skill, sign in with the same VeSync credentials used in Step 1, and allow permission for device discovery. Alexa will list the Cosori Pro Smart Air Fryer as a controllable appliance; you may rename it to "Kitchen Air Fryer" for easier voice commands. Perform a similar process in the Google Home app by adding the VeSync service under "Works with Google" and granting the same account access. After linking, ask the assistant to "turn on the Kitchen Air Fryer" to verify successful communication.
Both voice platforms support routine creation, which will be leveraged in the next steps. The integration requires no additional hardware because the air fryer already contains built‑in Wi‑Fi and cloud connectivity. If you prefer a more compact device, the Cosori Compact Air Fryer offers similar smart features in a 5‑quart footprint for $89.99 and a 4.7‑star rating from 35,391 reviews.
Step 3: Create an Alexa Routine for Preheating and Cooking
In the Alexa app, select "Routines" and tap the plus sign to add a new routine. Name the routine "Preheat Air Fryer for Chicken" and set the trigger to a voice phrase such as "Alexa, start dinner". Add an action, choose "Smart Home", then select the Kitchen Air Fryer and set the temperature to 375 °F for a 15‑minute preheat. Follow this with a second action that selects the "Cook" command with a preset for chicken wings, which will automatically adjust time and temperature based on the selected recipe from VeSync’s library.
The routine can also include a notification action that sends a push message to your phone when cooking is complete. This feedback loop ensures you are aware of the status without checking the appliance physically. By chaining preheat and cook actions, the routine reduces manual steps and guarantees consistent results for repeat meals.
Step 4: Build a Google Home Shortcut for Multi‑Function Use
Google Home calls its automation feature "Shortcuts". Open the Google Home app, tap "Routines", and create a new shortcut named "Grill and Fry". Set the voice trigger to "Hey Google, grill dinner". Add an action to turn on the Kitchen Air Fryer, then include a custom command that selects the "Grill" mode if the appliance supports it; for models without a dedicated grill mode, you may use the "Air Fry" preset with a higher temperature to mimic grilling.
To incorporate the Dash Flip & Fry Grill & Air Fryer, add a second device action that powers the Flip & Fry unit and selects the "Grill" function. This 3‑quart appliance costs $79.99 and carries a 4.5‑star rating from 18 reviews. Its dual‑function design allows you to sear a steak on the grill plate while simultaneously air frying vegetables, providing a versatile solution for complex meals. Including both appliances in a single shortcut enables coordinated cooking without juggling multiple timers.
Step 5: Integrate with SmartThings for Centralized Dashboard
SmartThings acts as a hub that aggregates devices from various ecosystems. In the SmartThings app, add a new device and choose "Add device" > "By brand" > "Cosori" (if available) or use the generic "Cloud‑to‑Cloud" integration. Authenticate with your VeSync credentials to import the air fryer into SmartThings. Once imported, you can create a SmartThings automation that triggers the air fryer when a motion sensor detects activity in the kitchen after 6 PM.
This automation might look like: "If kitchen motion detected after 6 PM, then turn on Kitchen Air Fryer to 350 °F for 10 minutes." The automation runs even if you are not at home, allowing you to pre‑heat the appliance before you arrive. SmartThings also offers a visual dashboard where you can monitor temperature, cooking time, and receive alerts, providing a unified view of all smart kitchen devices.
Step 6: Leverage Home Assistant for Advanced Scripting
Home Assistant provides powerful YAML‑based automation that can combine multiple conditions and actions. Add the VeSync integration by navigating to "Configuration" > "Integrations" > "Add Integration" and searching for "VeSync". After entering your credentials, the Kitchen Air Fryer will appear as an entity (e.g., climate.kitchen_air_fryer). Create an automation that triggers at sunrise on weekends to start a "Healthy Breakfast" routine.
Example YAML snippet:
automation:
  - alias: "Weekend Breakfast"
    trigger:
      - platform: time
        at: "08:00:00"
    condition:
      - condition: state
        entity_id: sensor.day_of_week
        state: "Saturday"
    action:
      - service: veSync.set_temperature
        data:
          entity_id: climate.kitchen_air_fryer
          temperature: 375
      - service: veSync.start_cooking
        data:
          entity_id: climate.kitchen_air_fryer
          preset: "Breakfast Burrito"
This script sets the temperature, selects a preset, and starts cooking automatically. Home Assistant also supports notification platforms such as mobile_app, enabling you to receive a push alert when the burrito is ready.
Tips & Pro Tips
- Always perform the test run before the first use to remove any manufacturing odors and to verify proper airflow.
- Use the VeSync Scan‑to‑Cook feature for frozen foods; the app reads the barcode and applies the optimal temperature and time automatically.
- When creating voice routines, include a brief pause between actions to allow the appliance to process each command.
- For multi‑device routines, synchronize the start times to avoid power surges on a single circuit.
- Regularly update the VeSync app and firmware of your air fryer to ensure compatibility with the latest voice‑assistant APIs.
Troubleshooting
Device not discovered by Alexa or Google Home: Verify that the air fryer is connected to the same Wi‑Fi network as the voice assistant. Restart the router, the air fryer, and the voice‑assistant device, then attempt discovery again.
Routine fails to start cooking: Ensure that the selected preset exists in the VeSync library; some presets are region‑specific. Update the VeSync app to the latest version and re‑authenticate the skill.
SmartThings automation does not trigger: Confirm that the motion sensor’s state change is being recorded in the SmartThings log. Adjust the automation’s time condition to match the sensor’s active hours.
Home Assistant reports authentication error: Regenerate the VeSync API token in the VeSync app settings and re‑enter it in Home Assistant’s integration configuration.
Conclusion
This guide has demonstrated how to transform a conventional air fryer into a fully automated kitchen appliance using Alexa, Google Home, SmartThings, and Home Assistant. By following the step‑by‑step instructions, users can preheat, cook, and receive notifications with a single voice command or scheduled event. The recommended products—Cosori Pro Smart Air Fryer, Dash Flip & Fry Grill & Air Fryer, and Cosori Compact Air Fryer—provide reliable connectivity, versatile cooking functions, and competitive pricing. Implementing these automations not only saves time but also encourages healthier cooking habits through precise temperature control and reduced oil usage.
One is encouraged to experiment with custom routines that align with personal meal plans and daily schedules. As smart home ecosystems evolve, additional integrations will become available, further expanding the possibilities for hands‑free cooking.
Products Mentioned in This Guide
Frequently Asked Questions
How do I connect my Wi‑Fi enabled air fryer to Alexa?
Install the VeSync app, add the air fryer device, then enable the VeSync skill in the Alexa app and link your account.
Can I control my air fryer with Google Home?
Yes—after setting up the fryer in VeSync, add the VeSync service in the Google Home app and assign it to a voice command.
What is the easiest way to schedule cooking cycles automatically?
Create a routine in Alexa or Google Home that triggers the air fryer at a specific time, selecting the desired temperature and timer preset.
How do I receive notifications when cooking is complete?
Enable push notifications in the VeSync app and allow the app to send alerts through your chosen voice assistant or smartphone.
Is it possible to integrate the air fryer with SmartThings or Home Assistant?
Yes—use the VeSync integration in SmartThings or the custom VeSync component in Home Assistant to add the fryer to your automation scenes.